Rs 45 Per Square Feet
₨ 135
Roll Width: 3 feet.
1 Feet Length is equal to 3 Square Feet.
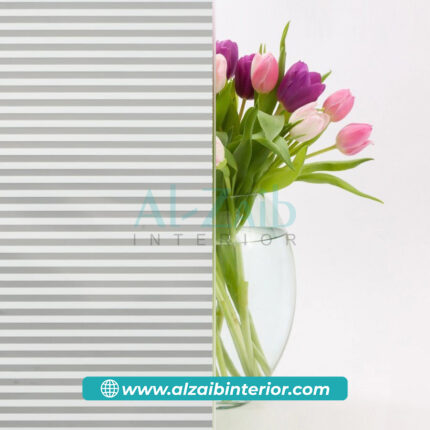
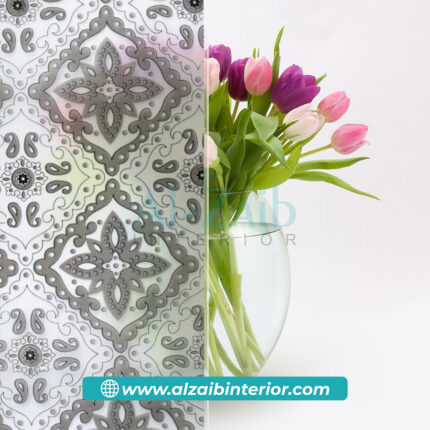
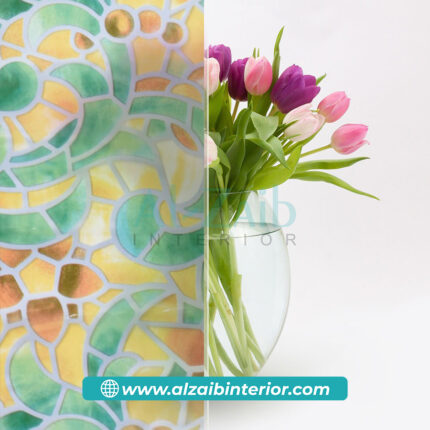
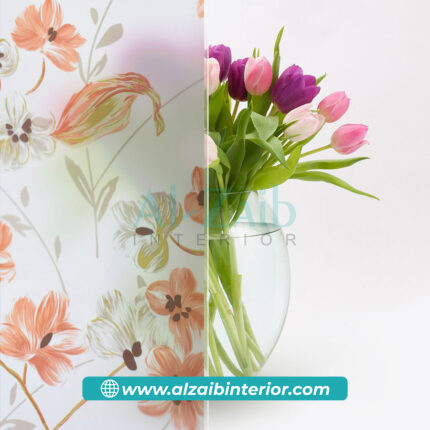
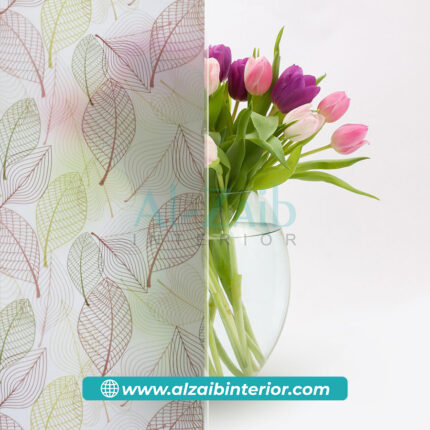
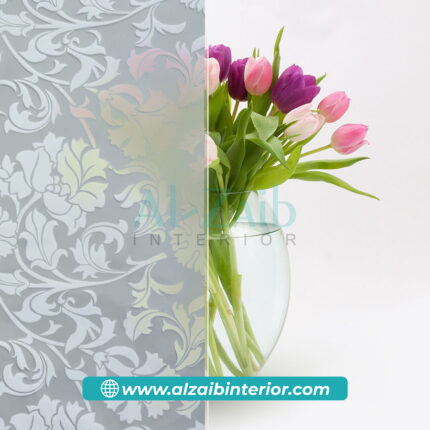
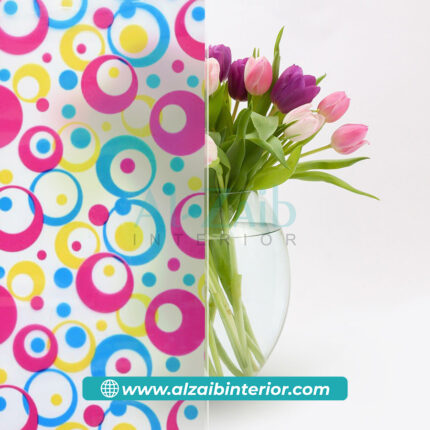
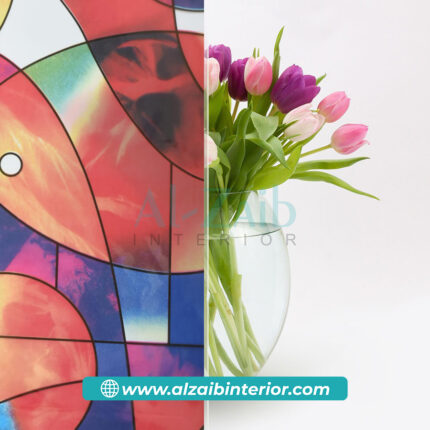
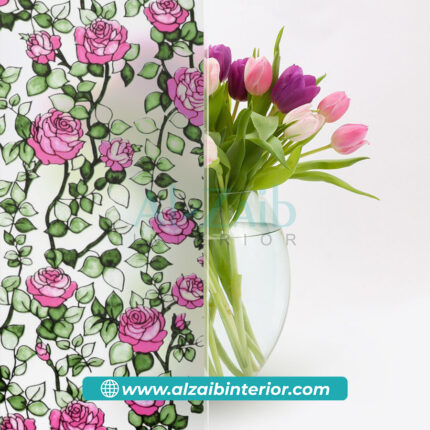
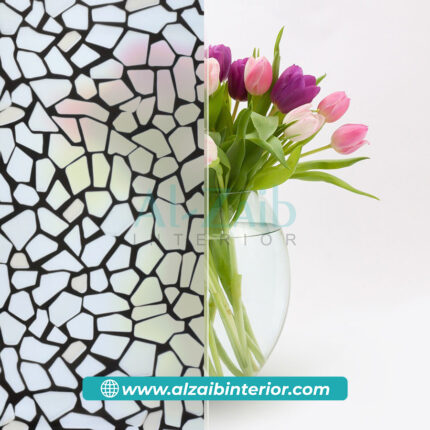
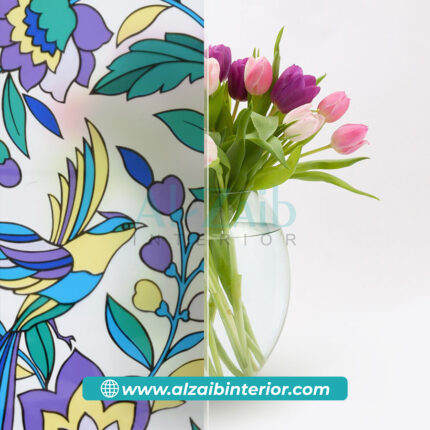
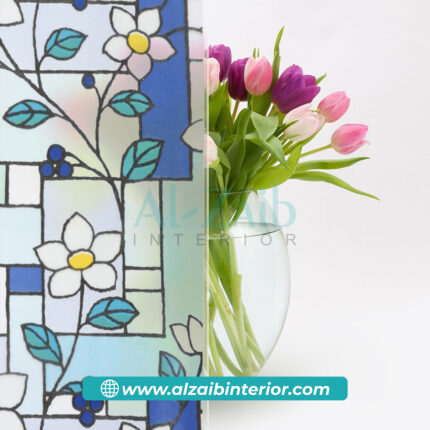
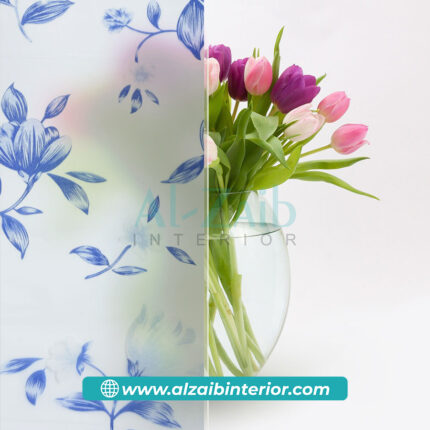
Frosted Glass Paper
Frosted Glass Film: Enhance Privacy and Style for Your Windows
Looking for a practical and stylish solution to add privacy to your windows? Frosted glass film is the perfect choice. With its easy-to-install DIY features, this decorative window film offers a frosted appearance that not only blocks unwanted views but also adds a touch of elegance to any space. Ideal for use at home or in the office, discover how frosted glass film can enhance privacy and elevate your interior design effortlessly.
How to Measure Your Window

Measuring Glass Easily
Measuring your windows for glass paper, or window film, is a straightforward process. Follow these steps to ensure a proper fit:
- Measure the width: Starting from the top left corner, use your tape measure to measure the width of the glass horizontally to the top right corner. Measure from edge to edge, including any frame or trim.
- Measure the height: In the same manner, measure the height of the glass from the top left corner to the bottom left corner, again including any frame or trim.
- Note the measurements: Write down the measurements for both the width and the height. It’s a good practice to measure in both inches and centimeters, as some window film products may use different units of measurement.
- Double-check your measurements: To ensure accuracy, measure the width and height in multiple places across the window. This helps accommodate any irregularities in the window’s shape.
- Calculate the size of the window film: If you plan to cover the entire window with glass paper, the dimensions of the film should be slightly larger than your window measurements to ensure complete coverage. You can add an extra inch or two to both the width and height to have a little extra material for adjustments during installation.
How To Install It?
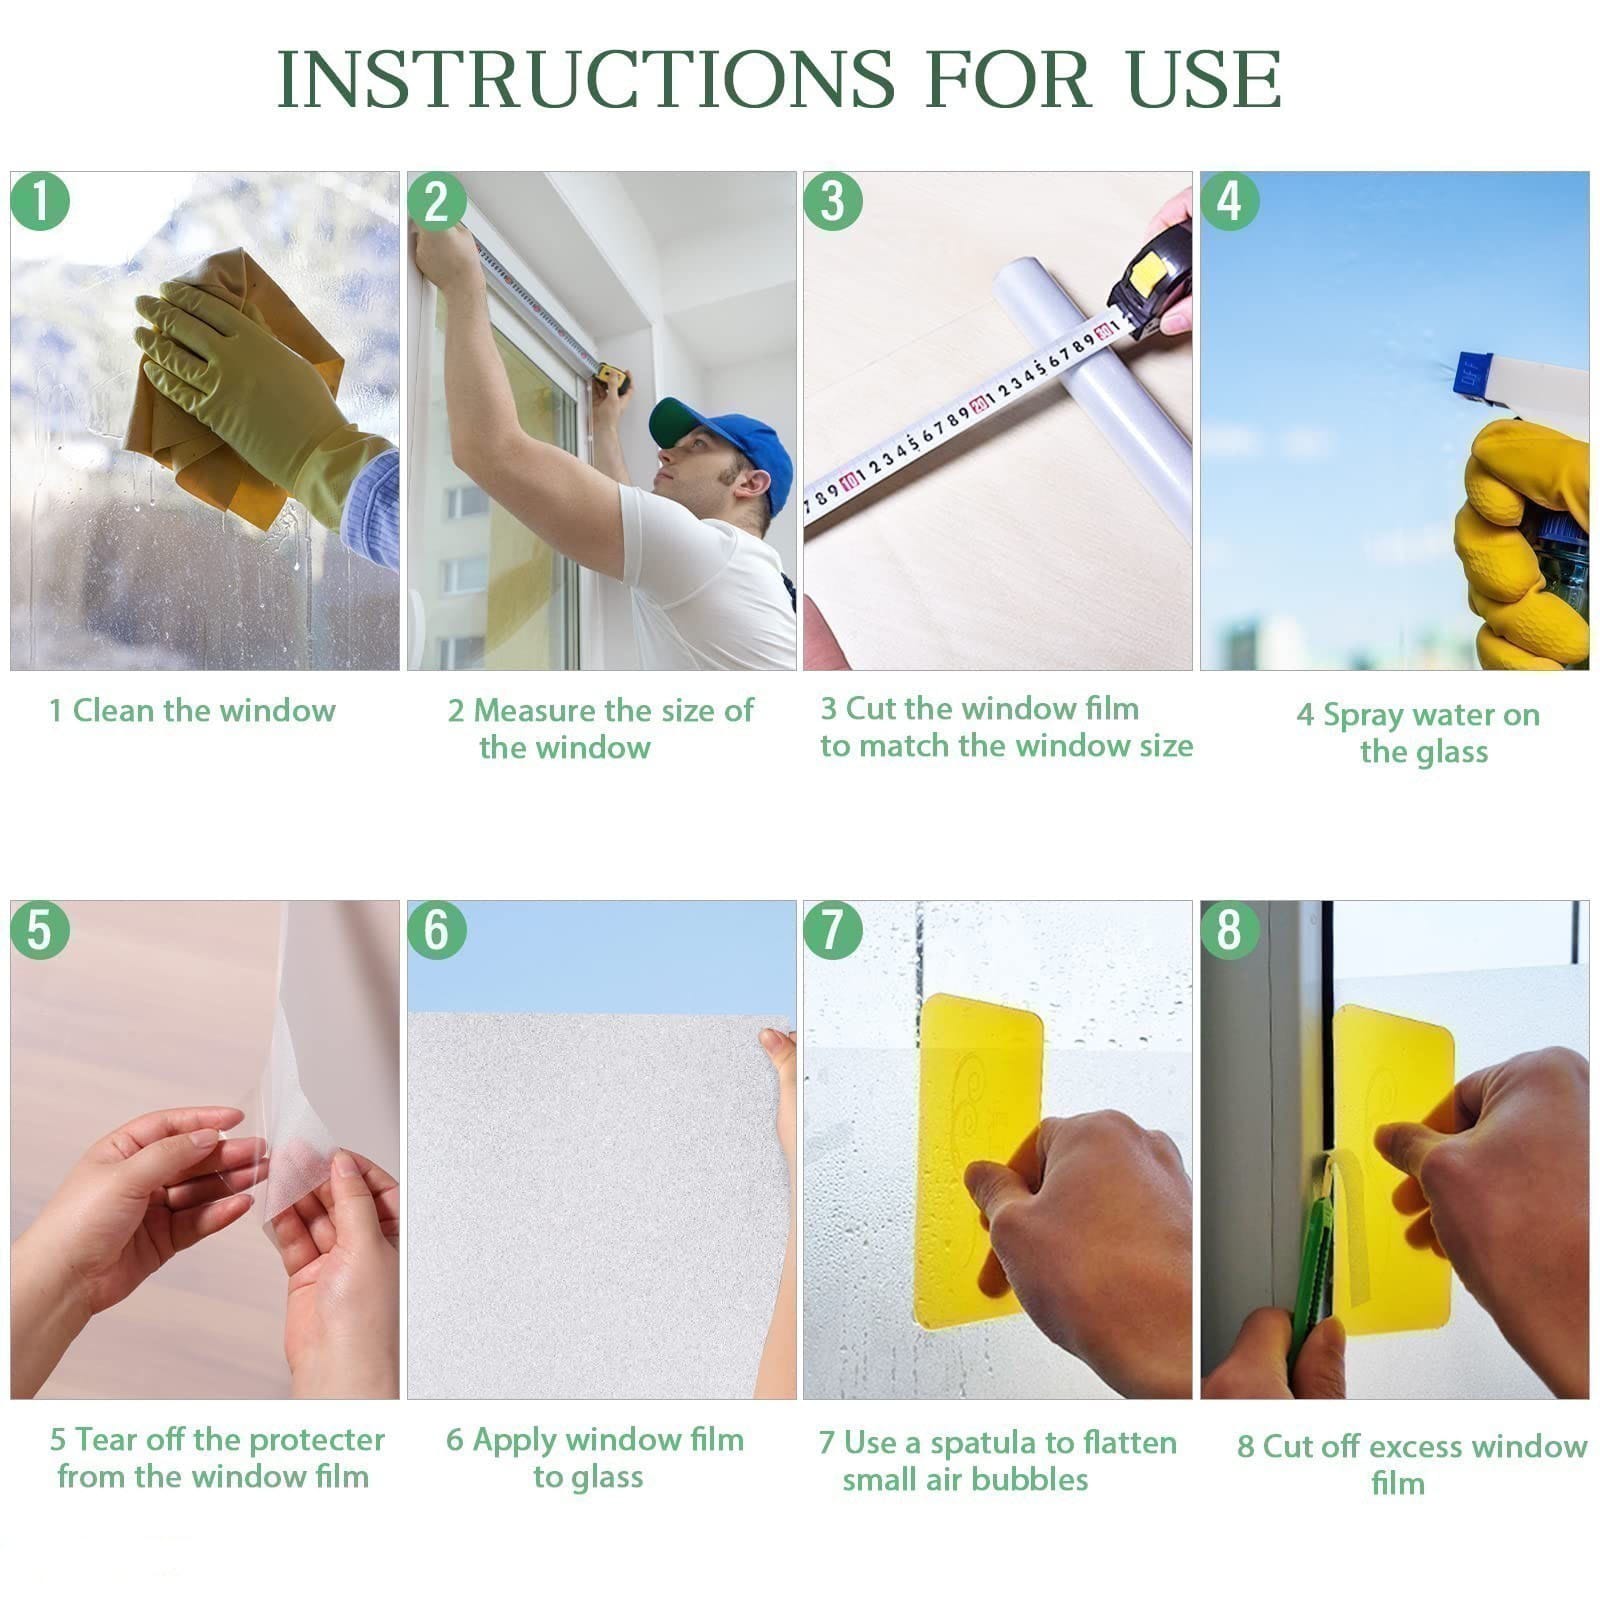
Installing glass paper, also known as window film, is a relatively simple process that can be done with some basic tools and a bit of patience. Follow these steps for a successful installation:
Materials you’ll need:
- Glass paper (window film)
- A spray bottle filled with water
- A few drops of dish soap (optional)
- A utility knife or a sharp blade
- A squeegee or a credit card
- A clean, lint-free cloth or paper towels
- A measuring tape
- A pencil or washable marker
Steps:
- Prepare your workspace: Clean the window thoroughly to ensure there are no dust, dirt, or smudges that could be trapped under the film. If necessary, wash the window with soapy water and rinse it well, then dry it completely.
- Measure and cut: Unroll the glass paper and measure it against the window. Leave an extra inch or two on all sides for adjustments. Cut the film to the approximate size needed.
- Prepare the glass paper: Lay the film on a clean, flat surface with the protective backing facing up. If your window film comes with a backing, remove it. If not, you can use a piece of clear plastic or cellophane to protect the adhesive side while you work.
- Prepare the solution: In your spray bottle, mix water with a few drops of dish soap. This soapy water solution helps with the application and repositioning of the film.
- Wet the glass: Liberally spray the window with the soapy water solution. This step is essential to allow you to position the film correctly and remove air bubbles.
- Apply the film: Carefully place the adhesive side of the glass paper against the wet window. You can reposition it as needed since the soapy water allows for easy sliding. Ensure the extra film hangs over the edges.
- Squeegee out air bubbles: Starting from the center and working your way out, use a squeegee or a credit card to push out any air bubbles or excess water from under the film. Apply firm, even pressure, being gentle not to tear the film.
- Trim the edges: Use a utility knife or a sharp blade to trim the excess film from the edges. Make sure the blade is sharp to avoid jagged edges.
- Final adjustments: Once all the air bubbles are removed and the film is in place, use the squeegee to smooth out the entire surface.
- Let it dry: Leave the film to dry for a day or two. During this time, any small water bubbles or haziness should disappear as the adhesive cures.
Your glass paper should now be properly installed, providing you with privacy, UV protection, and an aesthetically pleasing window treatment.










Reviews
There are no reviews yet.